
A digital travel brochure should tell travelers where they’ll go, what the trip includes, and how to ask for details. For tour operators and travel businesses, that means pairing destination photos with a clear itinerary, practical information, and a way to get in touch.
This guide explains what to put in a digital travel brochure, shows a six-page sample layout, and covers how to turn the finished PDF into an online flipbook with Recastia.
Key Takeaways
- Match the brochure to your offer: a destination guide and a packaged tour need different details.
- Use the same place names and stop numbers on your map and daily itinerary.
- Separate included services, optional activities, and extra costs.
- Put a clear inquiry or booking link beside the trip details, then repeat it at the end.
What to Include in a Digital Travel Brochure
A tourism brochure for a whole region can group attractions by area or interest. A brochure for one tour needs a route, daily schedule, overnight arrangements, and a clear explanation of the offer. The sample below focuses on one three-day trip.
The Destination and Trip at a Glance
Use the cover to identify the trip. Choose a photo that represents an actual place or activity in the itinerary, then add a short summary:
- Where: The destination and main stops.
- How long: The number of days and nights.
- Trip style: For example, guided sightseeing, a walking break, or a family beach stay.
- A reason to choose it: A specific experience, such as a village visit with a local guide.
Replace phrases like “an unforgettable escape” with something travelers can picture. “Three days of harbor walks and coastal villages” tells them much more.
A Route That Matches the Daily Plan
Put the route map before the detailed itinerary so travelers can locate the stops as they read. Number the stops and use those numbers in the day headings. If the group returns to the same hotel each night, say so.
For each day, include:
- The starting point and main activity.
- Any transfer between locations.
- Free time or optional activities.
- The overnight location, or the departure point on the final day.
VisitScotland’s film-location map pairs numbered locations with practical details and property links. Keep those numbers consistent in your own map and itinerary.
What’s Included and What Costs Extra
List included items beside the price or inquiry details. Be specific about hotel nights, meals, transport, admission, and guided activities. List any optional extras separately from exclusions.
For example, a boat trip mentioned in the itinerary may be an optional purchase. Label it there as well as in the cost summary. Travelers shouldn’t have to compare two pages to discover that it costs extra.
On its three-day Mull and Iona tour page, Rabbie’s separates included services, optional extras, and exclusions. That separation is useful in a brochure too.
If you show a price, explain its basis: per person or per group, room arrangement, and the dates it applies to. For a custom trip, use “Request a Quote” and ask for the information you need to prepare one.
Practical Details That Help Travelers Decide
Include details that could change someone’s decision to join:
- Walking distances, surfaces, and steps.
- The meeting point and arrival arrangements.
- Accommodation and room types.
- An alternative plan for weather-dependent activities.
- A contact for questions about individual access needs.
“Easy walking” can mean different things to different people. A distance and a description of the route give travelers more useful information. Use confirmed details, and link to the operator or venue for information that changes frequently.
One Clear Next Step
Choose the action that suits the offer: check departure dates, request trip details, or make a booking. Link directly to that page instead of sending everyone to your homepage.
Repeat the action at the end of the brochure, with a visible contact alternative. For an inquiry, tell travelers what to send, such as their preferred dates and group size. If you add a QR code for printed copies, keep the clickable link for people reading on a phone.
A Six-Page Sample Layout
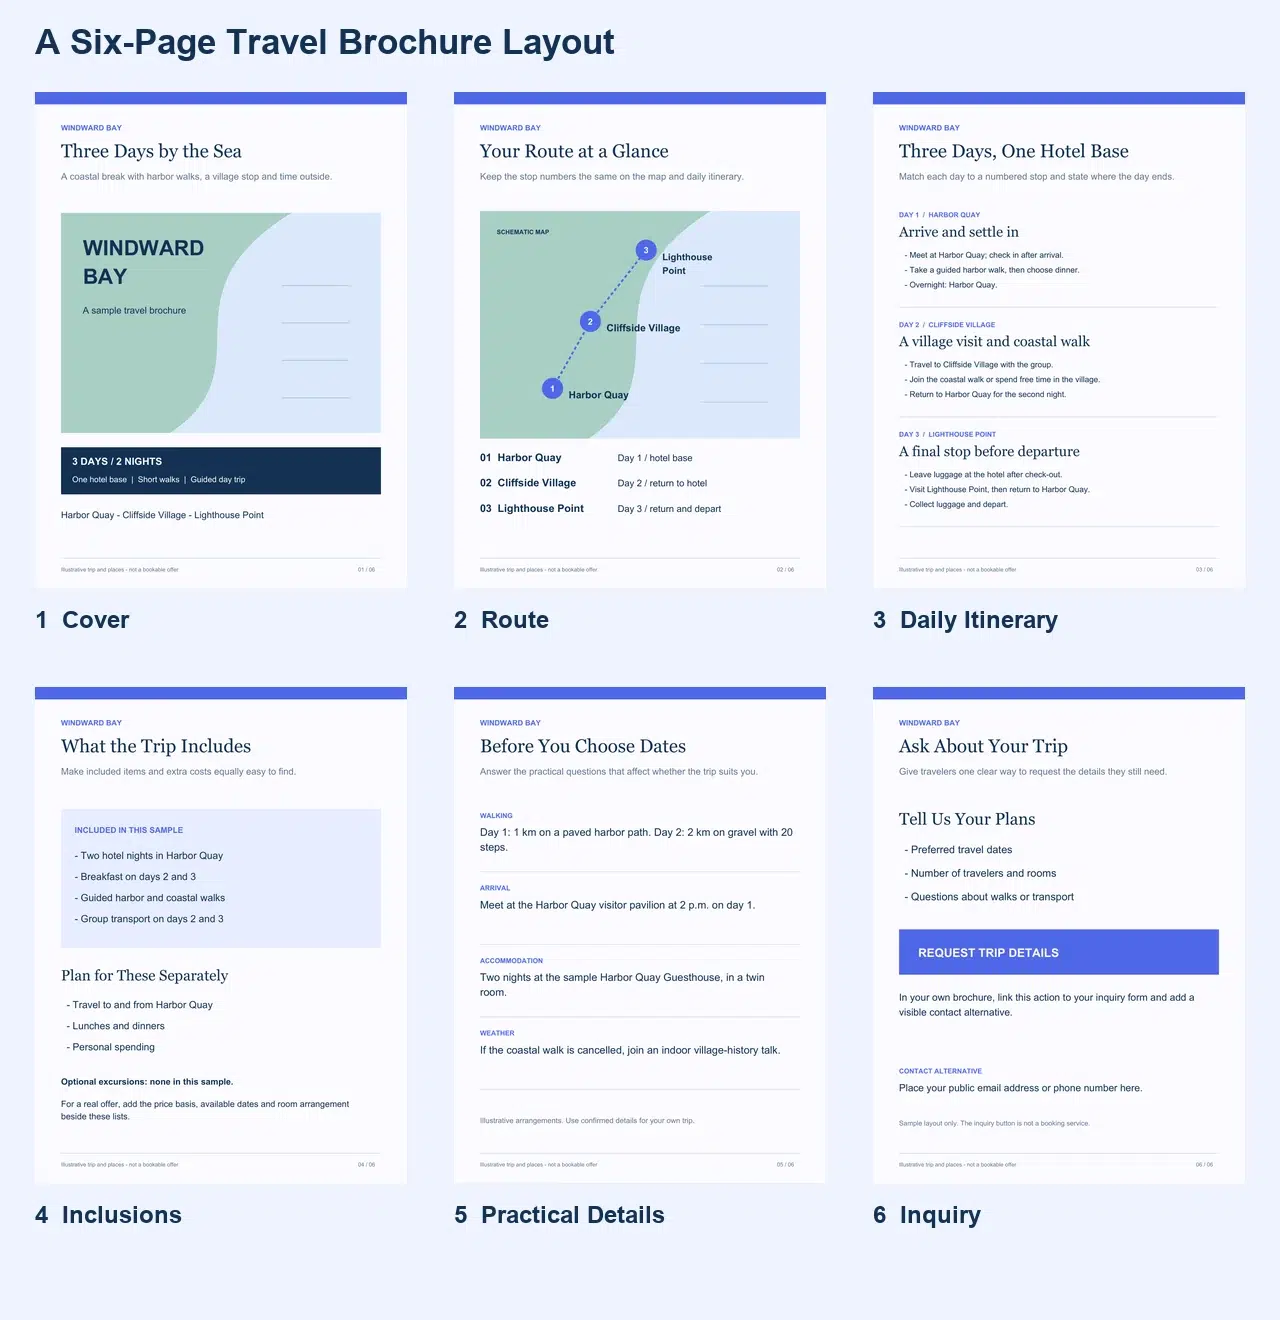
This original example uses Windward Bay, an illustrative three-day coastal trip. The group stays in Harbor Quay for two nights, visits Cliffside Village on day two, and goes to Lighthouse Point before returning to Harbor Quay to depart. The place names and itinerary are examples, not a bookable tour.
Page 1: Cover and Trip Summary
Lead with “Three Days by the Sea,” a coastal image, and a short trip summary. Beneath it, show:
- Three days and two nights.
- One hotel base in Harbor Quay.
- Harbor walks, a village visit, and a lighthouse stop.
Keep the cover simple. The itinerary and cost details have their own pages.
Page 2: Route Overview
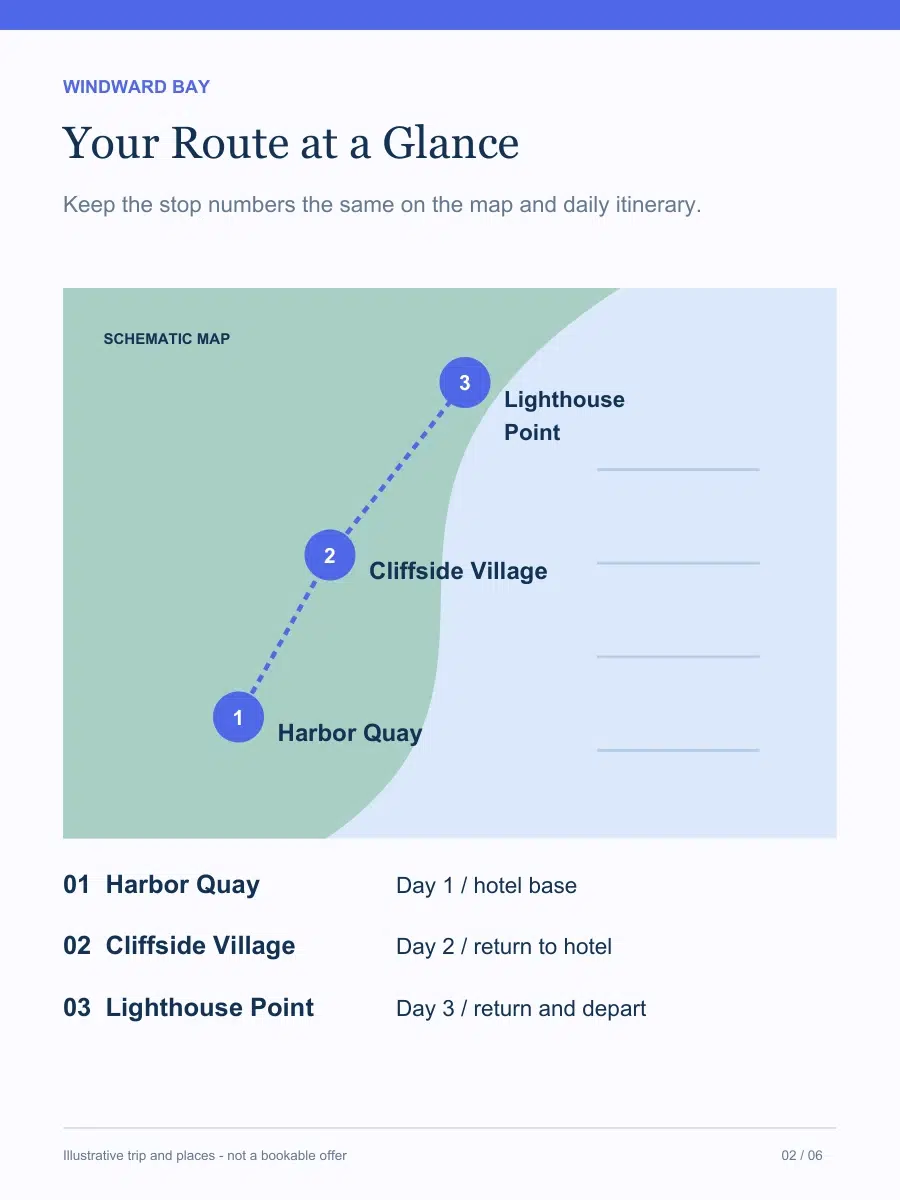
Use three numbered stops: Harbor Quay, Cliffside Village, and Lighthouse Point. Beside the map, connect each stop to a day and show the return to Harbor Quay.
A schematic map is enough to explain the sequence. Label it as schematic; use a separate map link if travelers need directions to the meeting point.
Page 3: Daily Itinerary
Use one short section per day:
- Day 1, Harbor Quay: Arrive, check in, and join a harbor walk. Dinner is at the traveler’s own expense. Stay in Harbor Quay.
- Day 2, Cliffside Village: Travel with the group, take the coastal walk or spend free time in the village, then return to the same hotel.
- Day 3, Lighthouse Point: Check out and leave luggage at the hotel. Visit the lighthouse, return to collect luggage, and depart.
Keep exact meeting times in the departure instructions unless travelers need them to arrange their arrival.
Page 4: Inclusions and Extra Costs
Split this page into two clearly labeled sections.
Included in the sample:
- Two hotel nights.
- Breakfast on days two and three.
- Guided harbor and coastal walks.
- Group transport on days two and three.
Paid separately:
- Travel to and from Harbor Quay.
- Lunches and dinners.
- Personal spending.
This sample has no paid optional excursions. If your trip offers them, add an “Optional Extras” section beside the included and excluded items.
For a real offer, place the applicable price and room arrangement alongside these lists. If you quote individually, explain what affects the price.
Page 5: Practical Information
Use this page for details that need more room than the cover allows. For this sample, the walking note reads: “Day 1: 1 km on a paved harbor path. Day 2: 2 km on gravel with 20 steps.” The arrival note gives a 2 p.m. meeting at the Harbor Quay visitor pavilion.
Replace these example arrangements with your confirmed details. Add hotel information and weather alternatives under their own short labels.
Page 6: Inquiry and Contact
End with “Request Trip Details.” In your own brochure, link this action to your inquiry form and ask for preferred dates, group size, and any questions about the itinerary.
Add a visible contact method below it. Keep this final page focused on the inquiry rather than introducing another destination or unrelated offer.
The six pages separate the route, schedule, costs, and practical information. You can combine pages for a shorter trip or add space for a longer itinerary; six is a sample layout, not a required length.
Share the Brochure Online With Recastia
Once you’ve arranged the pages and exported a PDF, use the Flipbook Maker to create a page-turning brochure. You can share its link in a trip inquiry reply, an email campaign, or a website’s tour description.
Keep the same page order as your PDF so travelers move from the route to the daily plan and trip details.
- Upload Your Brochure PDF
Upload the finished PDF to the Flipbook Maker. Recastia converts the pages into a flipbook that you can open in a browser.
- Customize the Flipbook
Give the brochure a descriptive title, such as the destination and trip length. Add a short description, then choose a template that suits the page design.
- Share the Brochure Link
Copy the flipbook’s public link and include it beside the trip name in your email or website. Use that reading link when sharing the brochure with travelers.
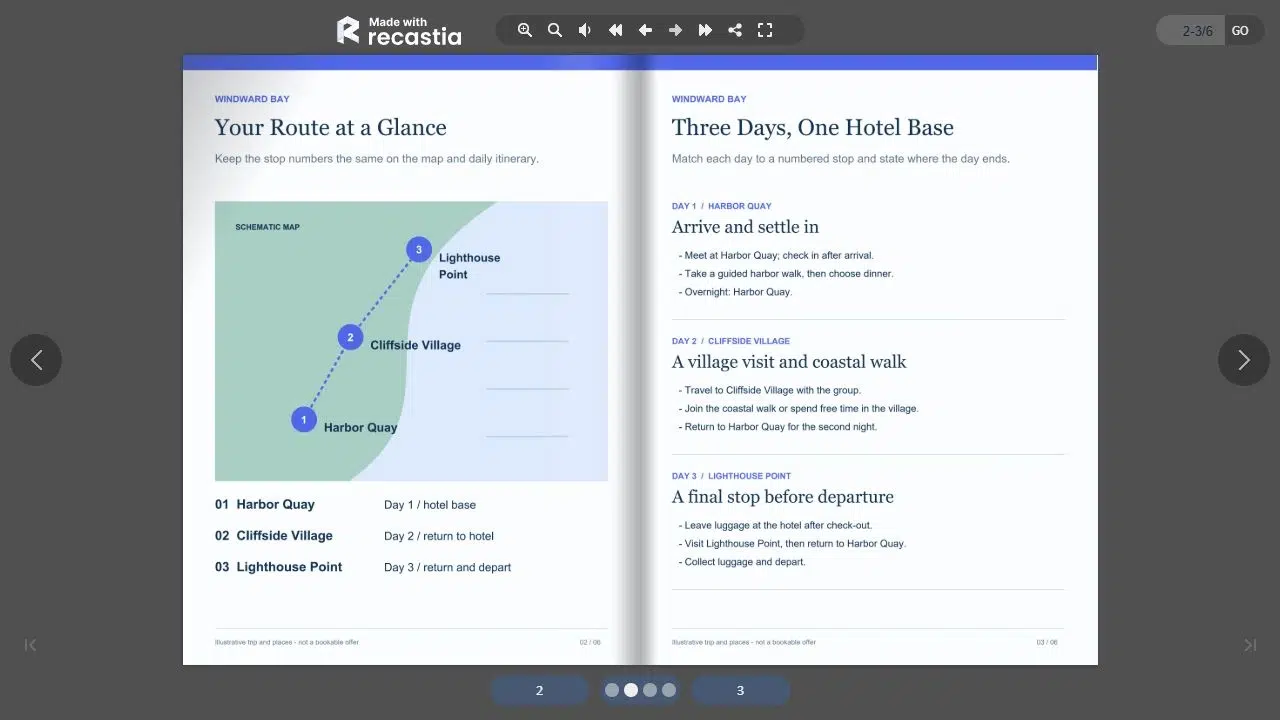
You can also browse Recastia’s official Travel Guide Book example below for a different travel publication layout.
Give Travelers the Details They Need
Build your digital travel brochure around one offer: where the trip goes, how each day works, what’s included, and how to get in touch. Use the six-page layout to separate those details, then replace the sample information with your confirmed itinerary.
Before sharing your digital travel brochure, open it on a phone and follow the inquiry link. Make sure a traveler can read the day plan, find the extra costs, and reach the right contact page.
Bring Your PDF to Life With Recastia
Create, customize, and share your content in a more engaging way.
Frequently Asked Questions
No. A trifold layout suits a sheet designed for printing and folding. For screen reading, separate pages let you give the map, itinerary, and trip details more space. If you need both formats, prepare a print version and a screen version with the same trip information.
You can create a separate version for each language. Keep the route, inclusions, and contact information consistent, and have someone fluent in the language review the wording. Allow room for text to expand rather than shrinking translated copy until it becomes difficult to read.
Choose photos of the actual places, accommodation, or activities in the offer. Use your own photography or images you have permission to use. Place each photo near its related description, and identify the location when a traveler might otherwise mistake it for another stop.
Name each edition clearly, such as by season or travel period. Review departure dates, included services, and prices before sharing it again. Keep your current tour page as the source for availability, and remove old brochure links from campaigns and website pages you still control.