
Your slides make sense when you’re there to explain them. Without you, a chart or a few bullet points may leave viewers with questions. Turning a presentation to video adds the explanation they’re missing.
This guide shows you how to convert a presentation to video with PowerPoint, Keynote, or Recastia’s AI narration.
Key Takeaways
- Use PowerPoint’s video export if your deck already has recorded narration, timings, or animations you want to include.
- Keynote on Mac can export a movie using a recorded slideshow or self-playing settings.
- Upload your PowerPoint presentation directly to Recastia when you want to add AI narration. A PDF export is optional.
- If you choose a PDF export, it does not carry over the original slideshow’s animations, recorded timings, or voice track. Add narration and configure playback in the video tool.
- Keep your editable presentation file so you can update charts, wording, and slide layouts later.
Choose How to Turn Your Slides Into a Video
Start with the presentation you already have. If you have recorded an explanation and timed the slide changes, exporting from the same app avoids rebuilding that work. If you want an AI voiceover for your slides, upload your PowerPoint file directly to Recastia and prepare the narration there.
| Your Starting Point | Route | What to Know |
| PowerPoint with narration or animations | Export a video in desktop PowerPoint | Use the recorded narration and timings when exporting |
| Keynote presentation on a Mac | Export as a movie | Choose the recorded slideshow or set automatic playback |
| Slides that need AI narration | Upload a PowerPoint file directly to Recastia | Create a new voiceover from the slide content |
For Google Slides or Keynote, export the deck to a supported format before uploading. A PDF is one option; use one slide per page. If you already have a PowerPoint file, upload it directly.
Export a Video From PowerPoint
In desktop PowerPoint for Windows, open File > Export > Create a Video. Choose the output quality and whether to use recorded timings and narration. If you have not recorded timings, set how long each slide should remain on screen. Create the video and save it as MPEG-4.
PowerPoint can include animations and transitions in the export. See PowerPoint video export options for supported versions and media exceptions.
Export a Movie From Keynote
In Keynote on Mac, choose File > Export To > Movie. Select Slideshow Recording if you want to include an existing recording, or use self-playing settings for automatic playback. Choose the resolution and save the movie. Keynote movie export options explain the available playback settings.
Create a Narrated Video With Recastia
Recastia turns presentation slides into videos with AI narration. Upload your PowerPoint file directly, choose how to write the narration, and set the video presentation. You can also start with slides already saved as a PDF.
- Prepare Your Presentation
Save a copy of the slides you want to use. Upload a PowerPoint file directly; you do not need to convert it to PDF first.
For Google Slides or Keynote, export the deck to a supported format. If you choose PDF, export one slide per page rather than a handout with several slides on each page.
Leave out slides that only make sense during the live session, such as a break timer or a blank discussion prompt. Keep useful examples and diagrams. If you need to preserve recorded narration or PowerPoint animations, use the original app’s video export. - Upload Your Presentation
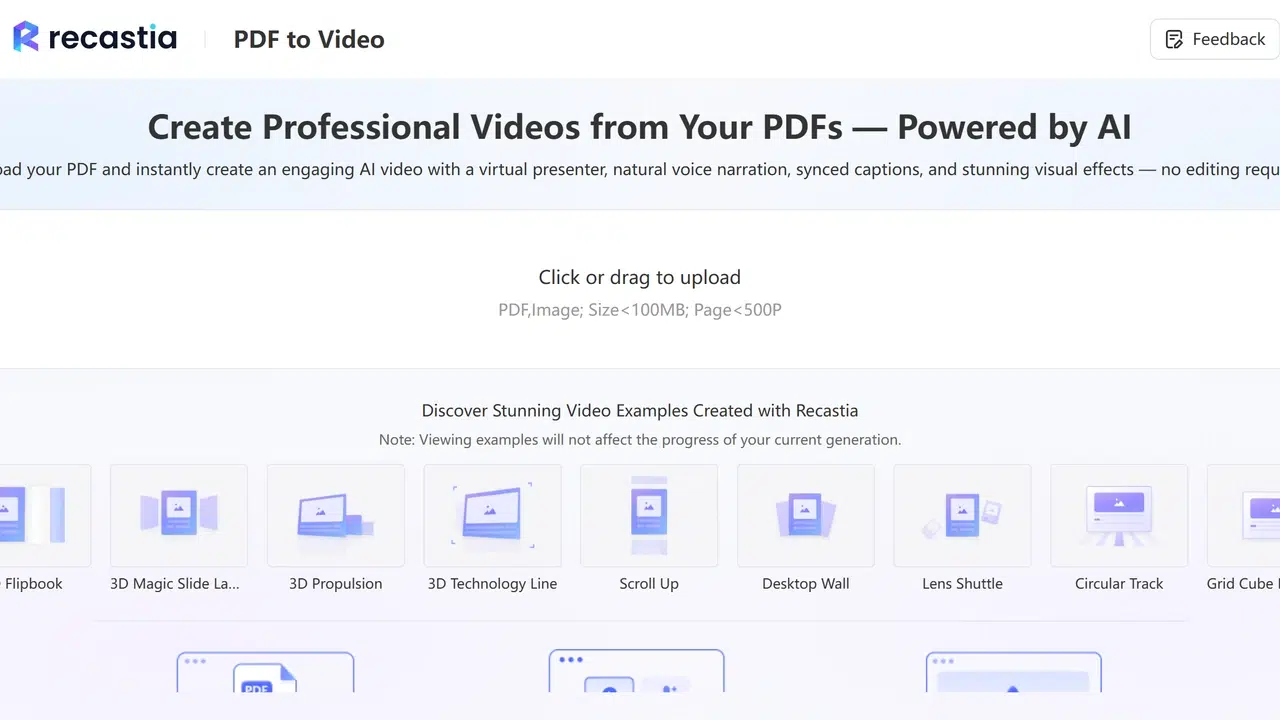
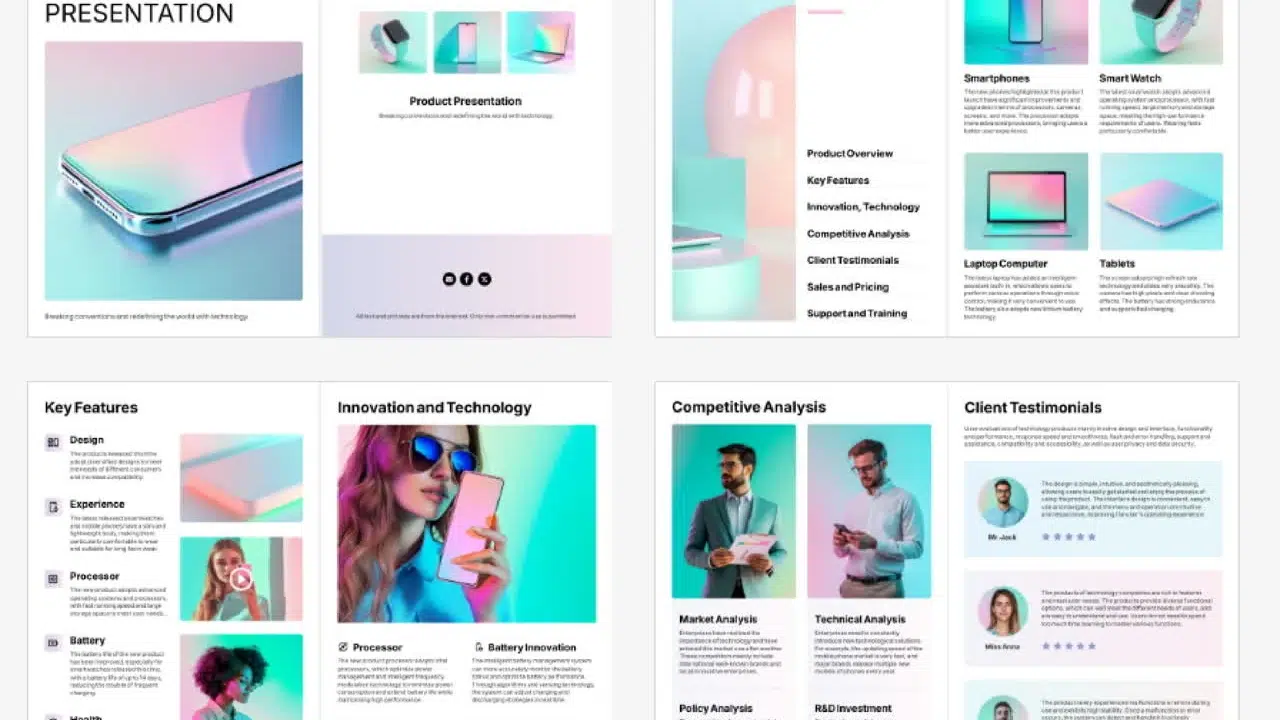
Open the PDF to Video tool, choose a video template, and upload your PowerPoint file or PDF. Select the pages you want in the video when you configure it. For example, a short product introduction might use the overview, demonstration, and next-step slides while leaving the technical appendix in the original deck.
- Choose How to Add Narration
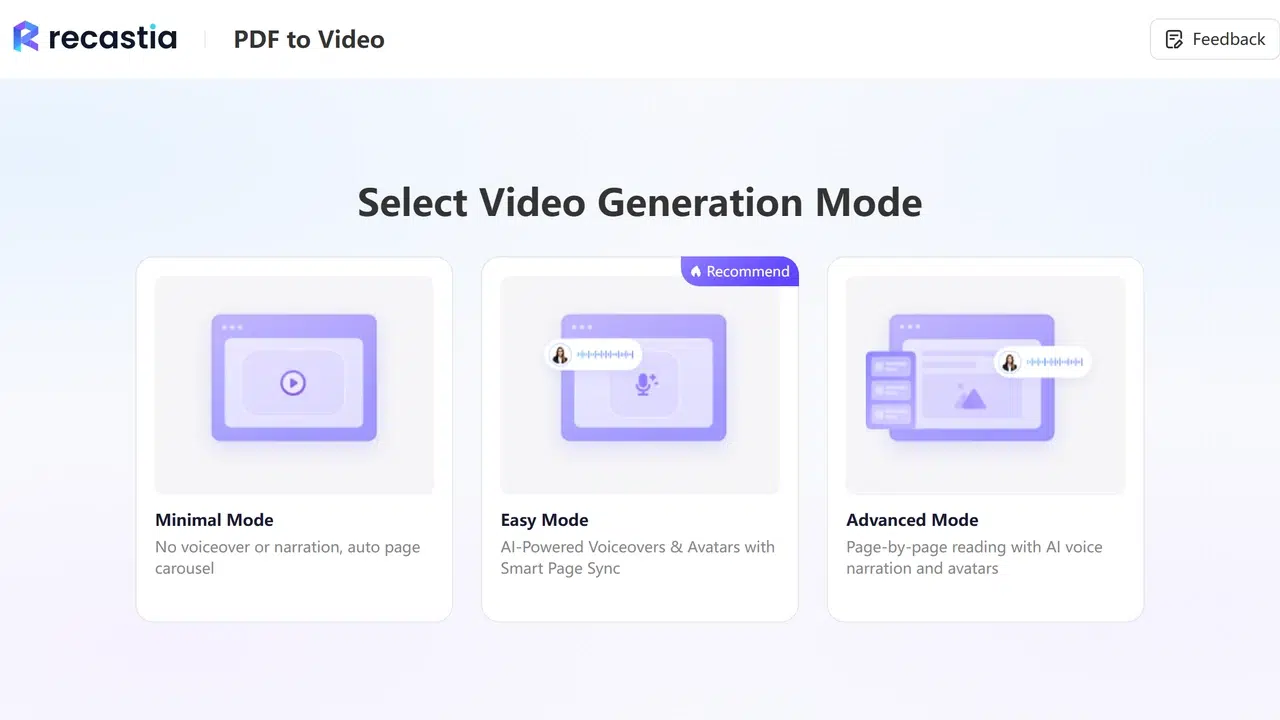
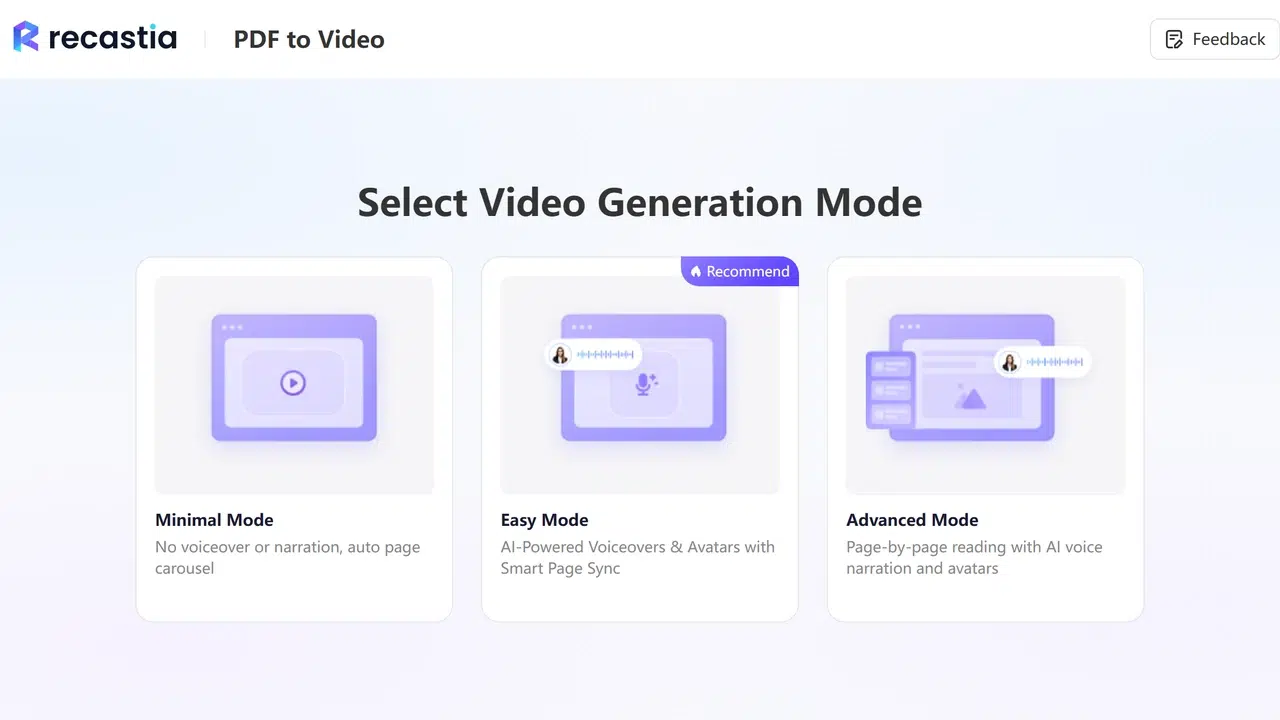
Select Easy Mode to work with one narration script for the video. Choose Advanced Mode when you want a separate script for each selected page. Minimal Mode creates a page carousel without narration.
For a lesson that explains a different concept on every slide, separate page scripts let you write the explanation beside the corresponding content. For a short overview, a single script may be enough. The PDF video presentation guide covers narration and slide selection in more detail.
- Write the Explanation and Set the Appearance
Use AI Copywriting to generate narration from your presentation, or enter your own wording. Add details that you would normally explain aloud. For a chart, name the comparison and explain the result; reading the axis labels alone will not explain why the chart is there.
Choose a voice and decide whether to include an avatar. Enable subtitles if you want the spoken text displayed on the video. Select a visual effect and a ratio that suits your slides. A widescreen deck generally fits a 16:9 video without needing a portrait redesign. - Generate and Download the Video
Generate the video, then play it through before downloading. Listen for names or abbreviations that need clearer wording, and check that the spoken explanation matches the slide on screen. Download the MP4 when the video is ready to share.
Use the PDF to MP4 guide for more detail on the download workflow and video settings.
Adapt a Live Presentation for Viewing Later
A live deck may contain cues that only make sense while someone is speaking. Turn those cues into explanations before generating the voiceover. Replace “as we discussed earlier” with the actual point, and explain any question that the presenter would normally answer in the room.
Keep dense supporting information in a separate document. A video can show the main figures from a budget table while the original deck or PDF provides the complete breakdown. Include that document alongside the video so viewers can look up details without pausing on a small table.
Finish with a specific next step. A training video might direct viewers to complete an exercise; a product walkthrough might end with a link to setup instructions. Add those links to the page or message where you share the video, since viewers cannot click a hyperlink baked into a video frame.
FAQ
Add any explanations from your speaker notes to the narration script and review the wording before generation. If you use a PDF of the slides, the notes may be absent. Exporting notes pages instead makes those notes part of the visible page layout, not a separate voice track.
Yes, but editing the source presentation does not update an existing MP4. Make the changes in your presentation, then export or generate a new video. Keep the editable deck as the source for future revisions.
Text and buttons visible in an MP4 are part of the picture, so the original slide hyperlinks are not clickable. Put important links in the video description, accompanying email, or webpage.
Yes. Recastia can generate an AI voiceover from a script. You can use AI Copywriting to draft that script or write the explanation yourself. Minimal Mode is another option when you want slides to play without narration.
Check whether the free option includes a downloadable video, whether it adds branding, and whether it limits your project. The free PDF to video converter comparison explains the differences between the listed tools.
Conclusion
Converting a presentation to video gives you a way to share the explanation alongside the slides. Export from PowerPoint or Keynote when you want to use your existing recording. Upload your PowerPoint file directly to Recastia when you want AI narration for the slide content. A PDF export is another supported starting point.
Before you convert your next presentation to video, save the editable deck and decide which slides need spoken explanation. That preparation gives you the source material for both the first video and future updates.
Bring Your PDF to Life With Recastia
Create, customize, and share your content in a more engaging way.